Step 1: Prepare Your Feet
Soaking your feet in a shallow bath of warm water helps to soften dead skin, making it easier to slough off in the next step. To amp up the pamper levels, why not add in a few drops of your favorite essential oil? Lavender is wonderful for relaxation, while orange is energizing, and peppermint or tea tree are excellent for feet that have been stuck in sweaty shoes all day. For achy feet, throw in a cup of Epsom salts to relieve sore muscles. They will dissolve immediately and provide the same benefits as a foot massage!
Step 2: Exfoliate and Moisturize
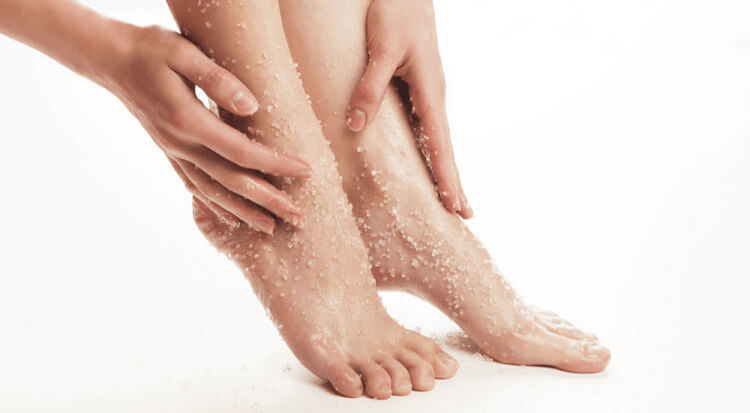
After towel-drying your feet, they will be ready for a good exfoliation. You can use a gritty foot scrub, a pumice stone, a foot file, or a foot scraper if you have lots of dry skin. Be careful not to remove too much skin with this tool, however, as this could lead to infection. Use a nail brush to get any dirt or dead skin out from under your toenails and to give the nail surfaces a good scrub. Once your feet are smooth, apply a rich lotion or oil and massage it into the skin to ensure it soaks in properly.
Step 3: Prepare Toenails
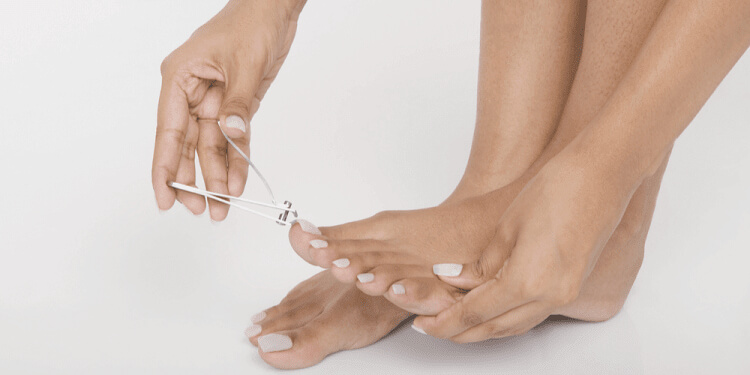
Before painting your toenails, it is important to trim, cut, and buff them to perfection! First, use a cuticle stick to push down the cuticle beds. This will give you more surface area to paint and will also make toenails look trim and tidy. Pushing cuticles down is safer than cutting, as it is very easy to cut off too much skin, leaving the nail bed open and prone to infections. As it is easier to apply nail polish to a smooth surface, use a nail buffer to buff down any ridges on the nails. When cutting your toenails, you should aim for a square shape with no rounded edges. It is common for a rounded edge to continue to grow sideways and become an ingrown toenail – yikes! A nail clipper or scissors will help you achieve a straight-across line quickly and cleanly.
Step 4: Paint Toenails
Now it is time for the fun part: painting your nails! Corals and neons look amazing on dark skin tones, while deep reds and blues are flattering on light skin tones. Needless to say, the glitter looks good on everyone! No matter the color though, you should always use a clear base coat to avoid staining the nail. To prevent chipping, especially in summer, when our toes are often exposed, apply a good top coat! Nail polish remover pens are an excellent tool for erasing mistakes, but another method is to soak your feet in warm water once the polish has dried; any messy polish will flake off the skin but stay on the nail, making you look like a master pedicurist!
Step 5: Relax!
Now that your feet are looking a million dollars, dab on a little cuticle oil, massage in some more foot cream, throw on a pair of cotton socks and relax! Watch your favorite movie, read a book, meditate, or get cracking on a manicure so that your hands can look as fabulous as your feet!


